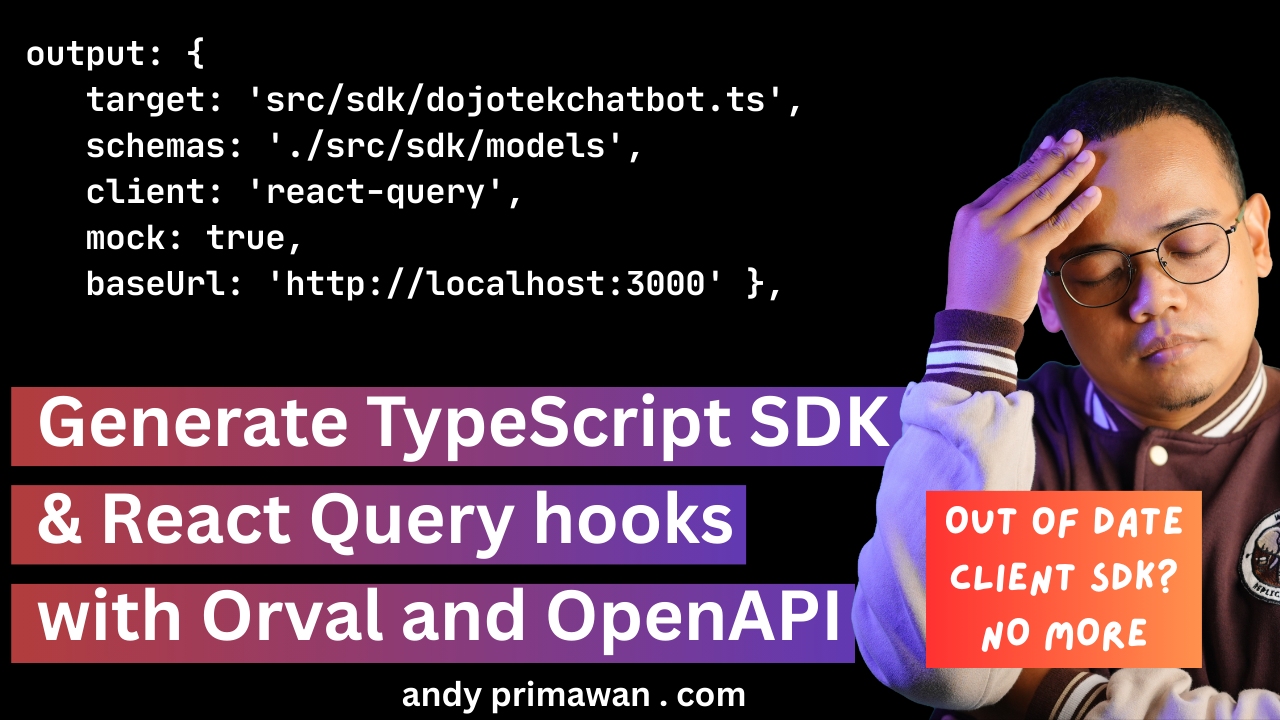
Generate TypeScript SDKs and React Query Hooks for NextJS with Orval and OpenAPI Specs - Andy Primawan
Tired of manually writing TypeScript interfaces, API clients, and React Query hooks? Discover how Orval can automate this entire process by generating a type-safe client SDK directly from your OpenAPI specification. Boost your productivity and eliminate boilerplate code in your Next.js projects.
Introduction
As full-stack engineers, we're constantly building bridges between the frontend and the backend. On a modern stack like Next.js, TypeScript, and a RESTful backend, a crucial part of this bridge is the API client layer. This layer is responsible for fetching data, handling state, and ensuring type safety.
The backend often provides an OpenAPI (formerly Swagger) specification, a fantastic contract that defines every endpoint, model, and operation. The challenge, however, is translating this contract into robust, type-safe, and maintainable frontend code. This is where the manual work usually begins, but it doesn't have to.
The Problem: The Manual Treadmill
If you've worked on a project with a rapidly evolving API, you'll recognize this painful cycle:
- Manual Type Definitions: A backend developer adds a new field to a
Usermodel. You now have to hunt down theUserinterface in your frontend codebase and manually add that field. Miss it, and you've introduced a potential runtime bug. - Boilerplate API Layer: For every single endpoint, you write a
fetchoraxiosfunction. You handle the URL, method, headers, request body, and response parsing. This is repetitive and error-prone. Did you remember to add theContent-Typeheader for that newPOSTrequest? - Hand-Crafting React Query Hooks: On top of your fetchers, you write
useQueryanduseMutationhooks. You need to manage query keys, define mutation functions, and handle invalidation logic to keep your cache fresh. This adds yet another layer of boilerplate that needs to be consistent across the entire application.
This manual process is not just tedious; it's fragile. It creates a disconnect between the API's "single source of truth" (the OpenAPI spec) and the client implementation. When the API changes, your client code becomes stale, leading to bugs, wasted time, and developer frustration.
The Solution: Generate, Don't Hand-Craft
What if we could treat our API client code as a build artifact, just like compiled code? What if we could generate everything—interfaces, fetchers, and React Query hooks—directly from the OpenAPI spec?
Enter Orval.
Orval is a powerful code generator that consumes an OpenAPI specification and outputs a fully-typed TypeScript client. It's incredibly flexible and, most importantly for us, has first-class support for generating React Query hooks.
Here’s how to set it up in your Next.js project.
Step 1: Installation
First, add Orval and its React Query preset to your project's dev dependencies.
npm i orval -D
# or
yarn add orval -D
# or
pnpm add orval -D
Step 2: Configuration
Create a configuration file named orval.config.js in your project's root. This file tells Orval where to find your API spec, where to put the generated code, and how to generate it.
// orval.config.js

module.exports = {
    dojotekchatbot: {
      output: {
        mode: 'tags-split',
        target: 'src/sdk/dojotekchatbot.ts',
        schemas: './src/sdk/models',
        client: 'react-query',
        mock: true,
        httpClient: 'axios',
        baseUrl: 'http://localhost:3000',
      },
      input: {
        target: './dojotek-chatbot.yaml',
      },
    },
  };
The configuration above tells Orval to:
- Create a dedicated folder for each OpenAPI tag.
- Generate OpenAPI schemas (data model) into
src/sdk/models/folder. - Use the
react-queryclient generator. - Generate MSW mocks.
- Using
axiosas the HTTP client rather thanfetch. - Base URL of the live backend is
http://localhost:3000
(change to real life URL for production, for examplehttps://ai-chatbot-be.dojotek.net - Read the OpenAPI spec from a local file
dojotek-chatbot.yaml. - Generate output files at folder
src/sdk.
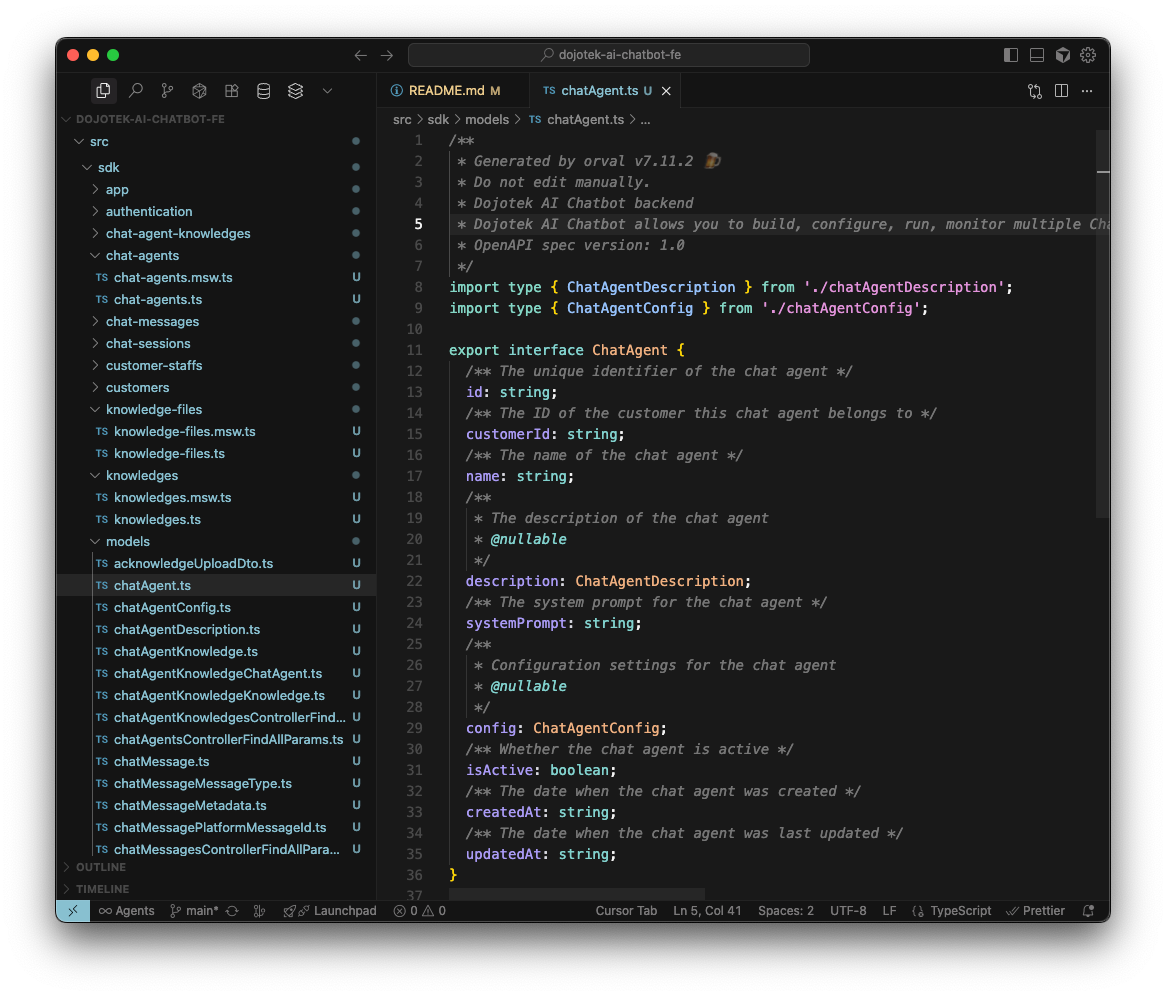
Here sample folder structure of the generated TypeScript SDK files, we have the model folder contains OpenAPI schemas, and each NestJS controller splitted to its own folder (OpenAPI tags).
And here sample usage of React Query hooks generated by Orval, in a ReactJS component to be shown on a NextJS route page:

Step 3: Generating the SDK
Add a script to your package.json to run Orval.
// package.json
{
  "scripts": {
    "dev": "next dev --turbopack --port 4000",
    "build": "npm run generate:api && next build",
    "start": "next start --port 4000",
    "lint": "eslint",
    "generate:api": "orval --config ./orval.config.js"
  }
}
Now, simply run the command:
npm run generate:api
# or
yarn generate:api
# or
pnpm generate:api
Orval will read your API spec and generate src/sdk/, which will contain:
- TypeScript
interfaceortypefor every data model in your API. - A custom React Query hook (
useQuery,useInfiniteQuery,useMutation) for every single endpoint.
Step 4: Don't Commit Generated Code
This is a critical mindset shift. The generated src/sdk/ folder is a build artifact, not source code. It should be regenerated, not manually edited. Therefore, you should add it to your .gitignore file.
# .gitignore

# ...other ignores

# Generated API client
/src/sdk/
By adding npm run generate:api to your build script, you ensure that your project always builds against the latest API contract, both locally and in your CI/CD pipeline. For development, you just need to re-run npm run generate:api whenever the backend API changes.
Step 5: Using the Hooks
Now for the best part. Using your API in your React components becomes incredibly clean and simple.
Instead of this...
// The old way
import { useQuery } from '@tanstack/react-query';
import axios from 'axios';

interface ChatAgent {
  id: number;
  name: string;
  tag?: string;
}

const fetchChatAgents = async (): Promise<ChatAgent[]> => {
  const { data } = await axios.get('/chat-agents');
  return data;
};

function ChatAgentList() {
  const { data, isLoading } = useQuery<ChatAgent[]>(['chat-agents'], fetchChatAgents);
  // ...
}
...you now do this:
// The Orval way
import { useChatAgentsControllerFindAll } from "@/sdk/chat-agents/chat-agents"; // Just import the hook!

function ChatAgentList() {
  const { data, isLoading } = useChatAgentsControllerFindAll();

  if (isLoading) return <div>Loading...</div>;

  return (
    <ul>
      {data?.data.map((chatAgent) => (
        <li key={chatAgent.id}>{chatAgent.name}</li>
      ))}
    </ul>
  );
}
Look at that! No manual types, no fetcher function, no useQuery boilerplate. You get full type safety on the response data, query parameters, and request bodies for mutations, all for free.
Step 6: Handling Authorization with JWT
It's rare for an API to be completely public. Most of the time, you'll be interacting with protected endpoints that require an authentication token, commonly a JSON Web Token (JWT), sent as a bearer token in the Authorization header.
Manually adding this header to every single API call is not just tedious, it's a security risk if you forget it. This is where the power of using a custom axios instance with interceptors shines.
For example we can create src/lib/axios.ts to add interceptor:
// src/lib/axios.ts
"use client";

import axios from "axios";
import { getAuthToken, clearAuthToken } from "./auth";

// Use the default axios singleton so Orval-generated calls (which import 'axios') share interceptors.
axios.defaults.baseURL = process.env.NEXT_PUBLIC_API_BASE_URL || "http://localhost:3000";

axios.interceptors.request.use((config) => {
  const token = getAuthToken();
  if (token) {
    config.headers = config.headers ?? {};
    (config.headers as Record<string, string>)["Authorization"] = `Bearer ${token}`;
  }
  return config;
});

axios.interceptors.response.use(
  (resp) => resp,
  (error) => {
    const status: number | undefined = error?.response?.status;
    if (status === 401 || status === 403) {
      clearAuthToken();
    }
    return Promise.reject(error);
  }
);

export default axios;
How It Works:
- Request Interceptor:
axios.interceptors.request.useacts as a middleware for every outgoing request. Before any request is sent by our app, this function runs. It grabs the JWT using a helper functiongetAuthToken()(which you would implement to read fromlocalStorageor cookies) and injects it into the request headers. - Response Interceptor:
axios.interceptors.response.useinspects every response coming back from the API. The second argument is an error handler. We check if the response status is401 (Unauthorized)or403 (Forbidden). If it is, we know our token is no longer valid. We then callclearAuthToken()to remove the stale token from storage.
You can inspect the real working code here.
Conclusion
By integrating Orval into our development workflow, we solve all the problems of the manual approach:
- Single Source of Truth: The OpenAPI spec dictates the client code. Any API change is reflected in the client by simply re-running a command.
- Zero Boilerplate: No more writing repetitive data models, fetch functions, or React Query hooks.
- Full Type Safety: Eliminate an entire class of bugs caused by frontend/backend type mismatches.
- Improved Developer Experience (DX): Spend less time on plumbing and more time building features. Autocomplete becomes your best friend.
Adopting a code-generation strategy for your API client is a game-changer for productivity and application stability. Give Orval a try in your next project—you'll never want to go back to writing an API layer by hand again.
Example Code
You can find a complete, working example of this setup in GitHub repository of Dojotek AI Chatbot, backend and frontend.
- package.json on Dojotek AI Chatbot frontend repo
- orval.config.js on Dojotek AI Chatbot frontend repo
- AdminChatbots.tsx on Dojotek AI Chatbot frontend repo for example of React Query hooks usage